Calling all crafters!! (And anyone willing to try this awesome DIY!)
I came across this one-of-a-kind DIY project that I had to share with all future brides, bridesmaids and gift givers. I’m always blown away by all the unique and sentimental ideas people come up with. These personalized acrylic vow boards stole my heart! Not only do they look way better than anything scribbled down on a bar napkin, but they can be saved forever, hung in your home and personalized to match wedding themes.
The article I found shows, step by step, how to make your own personalized acrylic vow board and all the supplies needed for this special DIY project. These would be great for detail shots, a thoughtful gift, or something really unique to add to your wedding day; don’t you think? The possibilities of crafting your heartfelt words could be endless! Check out the link on Something Turquoise for all the details on this project.
Here is the break down:
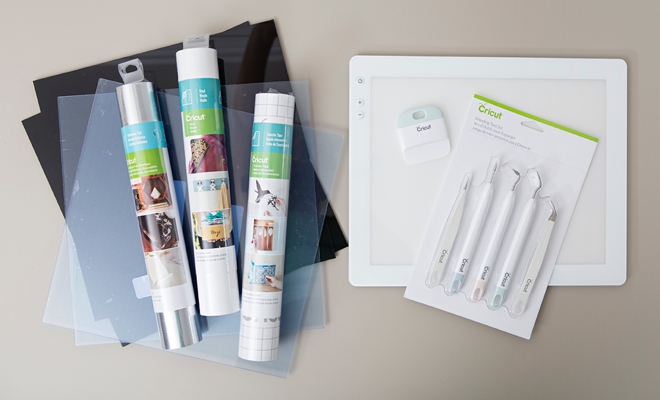
These are the items need to create your own personalized acrylic vow board.
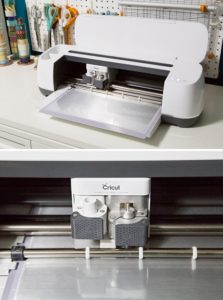
- Cricut Maker or Cricut Explore
- Cricut BrightPad
- 12″ x 12″ x 1/8″ Acrylic Boards
- Cricut Weeding Tools
- Cricut Vinyl or Adhesive Foil
- Cricut Transfer Tape
Sidenote: I know your first thought may be…”But I don’t have a Cricut Maker or Cricut BrightPad!” Don’t fret, there are website such as LeaseVille that will let you lease the crafting items you need to make your wedding dreams come true! Also, sites like Offer Up, Wedding Wire and other craft sites may be have a Cricut Machine for sale. Don’t forget to ask your friends or hired coordinators as well!
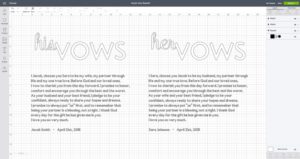
Step 1: Design your vows; choose your fonts, layout, sizing, etc. (Visit Something Turquoise for an in depth breakdown on this step).
Step 2: It’s time for the cutting! Add your chosen vinyl to the machine.
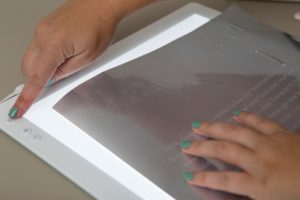
Step 3: Something Turquoise suggests using this new gadget “The BrightPad”, which you may, but any lit surface, white backdrop or anything that may help see the cut outs will help. This is when you use an X-Acto knife or Cricut’s weeding tool to weed off the areas you do not need.
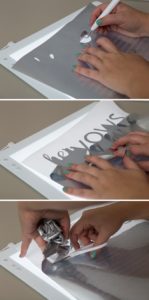
Step 4: Weed and cut away the excess, beginning with the top part of this design first. It’s larger than the rest and is quick and easy to take care of and get out of the way.
Step 5: Tape down the project to make it easier to cut off excess areas. Start with the more simple weeding first. For example, the centers of the e, a, d, o, b, and etc.
Step 6: It is time to peel! Peel the excess foil/vinyl slowly starting from the top.(Something Turquoise has more tips for this step to make sure your vow board comes out as expected.)
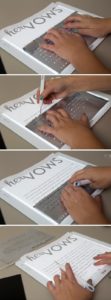
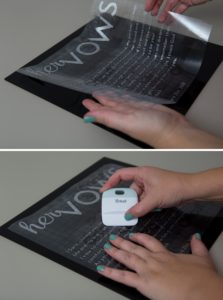
Step 7: (You’re almost done!) Cut a piece of transfer tape the same size as your project. Make sure you peel off the backing and add it to your weeded design. Jen Causey, from Something Turquoise suggests to start in the middle and work out. Press firmly when you transfer the tape down, in every direction, to make sure the letters adhere to it properly.
Step 8: Remove the paper backing from the transfer tape. This should be done slowly and is suggested to do it on top of the BrightPad…it helps!
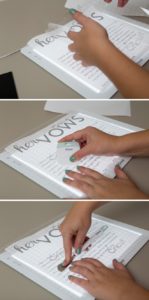
Step 9: (We made it!) Add “vow sticker” to chosen surface. Starting in the middle, make sure you’re centered, place all the transfer tape on the acrylic board.
Step 10: Remove the transfer tape, leaving you with your personalized vows adhered to your acrylic board. (YOU DID IT!) Enjoy your one-of-a-kind personalize vow board!
Please visit Something Turquoise for extra finishing tips of your DIY project! Thanks for crafting with us!
